升级hexo为6.0
安装 Hexo
使用 npm 安装 Hexo,升级为6.0。$ npm install -g hexo-cli
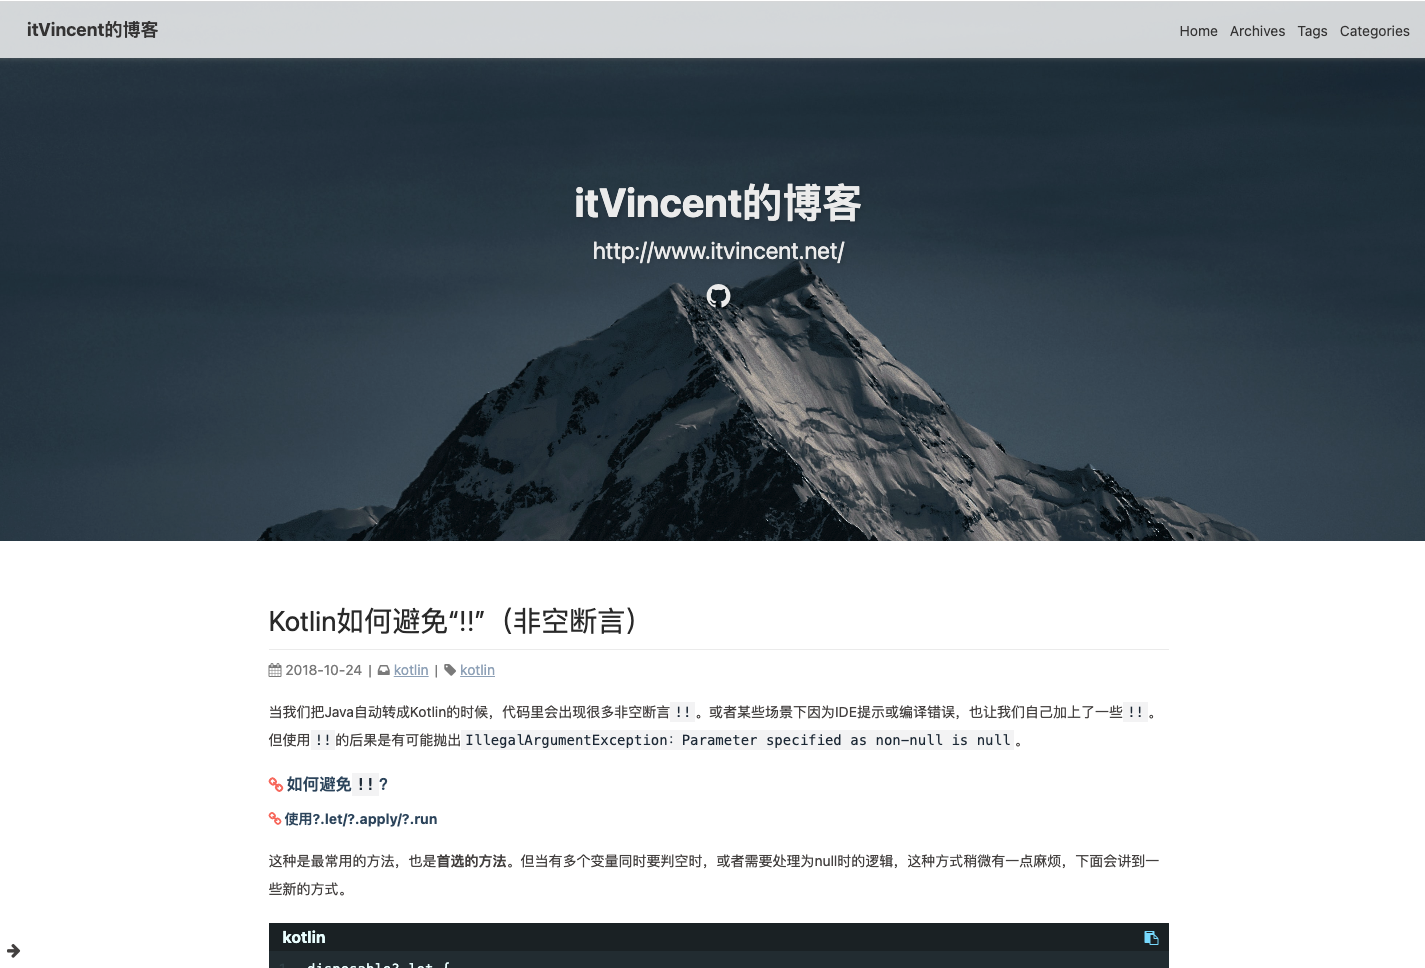
变更主题为melody
由于之前使用的Yilla主题已经很久没更新了,还不支持hexo6的新特性。
这次使用了PicGo作者的hexo主题:melody,支持hexo5之后的特性,包括:
- 可单独升级主题
- 独立主题配置文件
解决了之前hexo主题升级困难,配置困难的问题。旧的主题只能clone下来github上的代码,覆盖掉原来的主题,原来的配置文件要保留不能变更,但github上的配置文件是有可能有变更的,这时就冲突的,解决起来要手动对比。
安装melody
进入你的 hexo 博客的工作路径
1 | npm install hexo-theme-melody |
在 hexo 的工作目录下找到站点配置文件——_config.yml:
1 | theme: melody # 将主题设置成melody |
如果你没有 pug 以及 stylus 的渲染器,请下载安装:
npm install hexo-renderer-pug hexo-renderer-stylus --save或者
yarn add hexo-renderer-pug hexo-renderer-stylus
修改keywords/tags
由于之前写的文章没有按照规范写keywords和tags,需要修改所有文章的,把keywords改为list形式。
之前是keywords: kotlin,java
现在改为:
1 | keywords: |
修改主题配置
根据melody官网上的说明进行主题的配置:
https://molunerfinn.com/hexo-theme-melody-doc/zh-Hans/theme-config.html
修改了:
- 顶部头图、头像
- menu右上角菜单
- 网站favicon
- social社交网站
- 友链
- 页脚
三方插件
需要把原来yilla上的一些三方插件配置(例如百度统计、disqus),配置到新的melody上。
melody官网上有详细的配置说明:https://molunerfinn.com/hexo-theme-melody-doc/zh-Hans/third-party-support.html
修改了:
- 百度、google统计
- disqus
部署到github pages
使用 GitHub Actions 自动化将站点的改动部署至 GitHub Pages上,实现自动化更新。
建立名为 username.github.io 的储存库,username 是你在 GitHub 上的使用者名称,若之前已将 Hexo 上传至其他储存库,将该储存库重命名即可。
将 Hexo 档案 push 到储存库的预设分支,预设分支通常名为 main,旧一点的储存库可能名为 master。
- 将
main分支 push 到 GitHub:$ git push -u origin main - 预设情况下
public/不会被上传(也不该被上传),确认.gitignore档案中包含一行public/。
- 将
使用
node --version指令检查你电脑上的 Node.js 版本,并记下该版本 (例如:v18.y.z)在储存库中建立
.github/workflows/pages.yml,并填入以下内容 (将18替换为上个步骤中记下的版本):
1 | name: Pages |
- 提交代码到github上,就会自动打包生成静态站点。当部署作业完成后,产生的页面会放在储存库中的
gh-pages分支。 - 在储存库中前往 Settings > Pages > Source,并将 branch 改为
gh-pages。 - 前往 username.github.io 查看网站。
